A Complete Guide to Braising Meat for Perfect Results
Learn how to braise meat like a pro with this complete guide, ensuring tender, flavorful dishes every time.
Hook Intro
Have you ever taken a bite of perfectly braised meat that melted in your mouth, leaving you in a blissful state of culinary euphoria? Braising is one of those magical cooking techniques that transforms tough cuts of meat into tender, flavorful masterpieces. But if you’ve been intimidated by the process, don’t worry! You’re not alone. Let’s dive into the wonderful world of braising meat together.Quick Answer
TL;DR: Braising meat combines dry and wet cooking methods, resulting in tender, flavorful dishes. It requires low, slow cooking in a flavorful liquid.
Why This Matters
Braising is not just a cooking technique; it’s a way to make the most out of tougher cuts of meat that are often more economical. Think of chuck roast or pork shoulder, which can be budget-friendly but pack a powerhouse of flavor. By slow-cooking in a flavorful broth or wine, these cuts become incredibly tender and aromatic. Plus, the process allows you to infuse deep, rich flavors that elevate your meal from simple to spectacular. Who wouldn't want to impress their guests with a dish that tastes like it took hours to prepare?Step-by-Step Guide
-
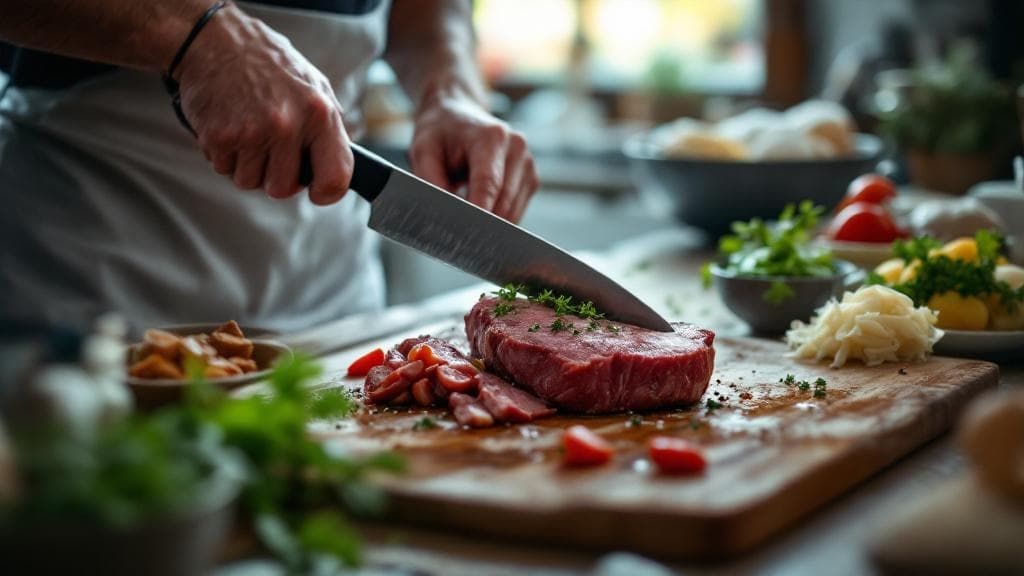
Choose Your Meat Wisely
Start with a tougher cut of meat, like beef chuck, pork shoulder, or lamb shanks. These cuts are ideal for braising because they become tender through slow cooking. Aim for about 3-4 pounds of meat for a hearty meal. -
Season Generously
Sprinkle salt and pepper all over your meat. Don’t be shy; this step is crucial for enhancing the flavor. If you like, rub in some garlic powder or herbs for added depth. -
Brown the Meat
In a heavy-bottomed pot or Dutch oven, heat some oil over medium-high heat. Once hot, sear the meat on all sides until it’s beautifully browned. This should take about 5-7 minutes. The aroma will be heavenly! -
Add Aromatics
Remove the meat and set it aside. In the same pot, toss in onions, carrots, and celery. Cook for 5-8 minutes until they soften, stirring occasionally. Add minced garlic and cook for another minute until fragrant. -
Deglaze the Pot
Pour in a cup of wine or broth, scraping the bottom of the pot to release all those caramelized bits. This step adds depth to your dish. Let it simmer for 2-3 minutes. -
Add Liquid and Herbs
Return the meat to the pot and add enough broth or stock to cover about two-thirds of the meat. Toss in bay leaves, thyme, or rosemary for a flavorful kick. -
Cover and Cook
Bring the pot to a gentle simmer, then cover it with a lid. Transfer it to a preheated oven at 325°F (160°C) and let it braise for about 2.5 to 3 hours, or until the meat is fork-tender. Check every hour and add more liquid if necessary. -
Rest and Serve
Once cooked, let the meat rest for about 15-20 minutes before slicing. This allows the juices to redistribute, ensuring every bite is succulent. Serve with your favorite sides and enjoy!
Quick Reference Guide
| Item | Time/Amount | Signs of Success |
|---|---|---|
| Chuck Roast | 3-4 lbs, 2.5-3 hrs | Fork-tender, juicy |
| Pork Shoulder | 3-4 lbs, 3-4 hrs | Shreds easily, flavorful |
| Lamb Shanks | 2-3 lbs, 2.5-3 hrs | Meat falls off the bone |
| Beef Brisket | 4-5 lbs, 3-4 hrs | Soft, tender slices |
Common Mistakes to Avoid
Mistake: Skipping the browning step. It’s wrong because it misses out on flavor. Fix: Always sear the meat to develop rich, caramelized notes.
Mistake: Using too much liquid. It’s wrong because it can lead to a boiled texture. Fix: Cover the meat with liquid only about two-thirds of the way.
Mistake: Cooking at too high a temperature. It’s wrong because it toughens the meat. Fix: Low and slow is the name of the game; keep it at 325°F.
Mistake: Not letting the meat rest. It’s wrong because it can cause juices to run out. Fix: Always rest your meat before slicing to keep it juicy.
Extra Tips
- For storage, let the meat cool completely before refrigerating for up to 3 days.
- Try variations with different spices like cumin or coriander for a unique twist.
- Using a slow cooker? Cook on low for 6-8 hours for similar results.
Pro Tips
Pro Tip: For an extra layer of flavor, add a tablespoon of tomato paste when cooking your aromatics. It adds richness!
Pro Tip: If you want a thicker sauce, remove the meat once cooked, then simmer the liquid to reduce it before serving.
Pro Tip: Pair your dish with a good-quality wine; it elevates the entire meal experience.