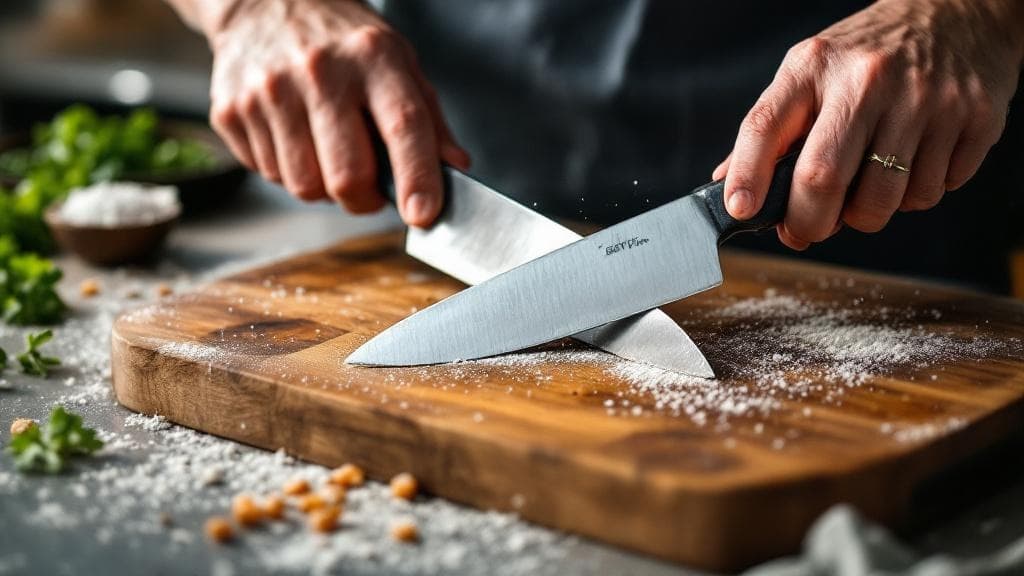
How to Sharpen Kitchen Knives at Home
Master knife sharpening at home and enjoy effortless cutting with these easy tips!
Hook Intro
Have you ever struggled with a dull knife while chopping vegetables, wishing for a magic wand to make it sharp again? It’s a common kitchen dilemma! Learning how to sharpen kitchen knives at home not only makes meal prep smoother but also enhances your cooking experience. Let’s dive into this essential skill that every home cook should master.Quick Answer
TL;DR: To sharpen kitchen knives at home, use a whetstone or honing rod, following proper techniques to maintain blade integrity. Regular sharpening makes cooking easier and safer.
Why This Matters
Using a sharp knife is crucial for both efficiency and safety in the kitchen. Dull knives require more force, increasing the risk of slips and accidents—yikes! Plus, a well-sharpened blade helps you achieve cleaner cuts, allowing the natural juices and flavors of your ingredients to shine. Imagine slicing through a ripe tomato with ease, the colors vibrant and the aroma intoxicating. Trust me, your culinary creations will thank you for it!Step-by-Step Guide
Gather Your Tools
Start by collecting your sharpening tools. You’ll need a whetstone or honing rod, a damp cloth, and some water or honing oil (if using a whetstone). The whetstone should have a coarse side and a finer side, perfect for initial sharpening and finishing touches.Prepare the Whetstone
Soak your whetstone in water for about 10-15 minutes, if it’s a water stone. This ensures a smooth sharpening process. If using a honing rod, you can skip this step—just grab it and get ready to sharpen!Set the Angle
Hold your knife at a 20-degree angle to the whetstone. This angle is ideal for most kitchen knives and helps maintain their edge. Think of it as a magic angle that leads to sharper knives, just like how a good angle makes a great selfie!Start Sharpening
Using the coarse side of the whetstone, push the blade against it, moving from the heel to the tip. Imagine you’re slicing through a block of butter. Repeat this motion 5-10 times on each side, applying light pressure. You should start to see a shiny edge forming—how satisfying is that?Switch to the Fine Side
Flip the whetstone over to the fine side and repeat the same process. This will refine that edge and give your knife a polished finish. You might even hear a delightful whisper as the blade glides against the stone—music to a cook’s ears!Clean the Blade
Wipe the blade clean with a damp cloth to remove any metal shavings. This step is essential to ensure you’re not transferring any grit to your food. You wouldn’t want to crunch down on metal particles while enjoying your homemade stir-fry, right?Test the Sharpness
Carefully test the sharpness by slicing through a piece of paper or gently running your thumb across the edge (be careful!). A sharp knife should glide smoothly through paper without tearing it. If it’s not sharp enough, repeat the sharpening process.Regular Maintenance
To keep your knives in top shape, hone them regularly with a honing rod before each use. Just a few swipes on each side will help maintain that edge. It’s like a quick workout for your knives—it keeps them fit and ready to go!
Quick Reference Guide
| Item | Time/Amount | Signs of Success |
|---|---|---|
| Whetstone Prep | 10-15 min soak | Stone is saturated |
| Sharpening (Coarse) | 5-10 strokes per side | Shiny edge forms |
| Sharpening (Fine) | 5-10 strokes per side | Polished edge |
| Testing Sharpness | 1 slice of paper | Clean cut, no tearing |
| Regular Honing | Before each use | Edge maintained |
Common Mistakes to Avoid
Mistake: Using too much pressure while sharpening. This can damage the blade. Fix: Apply light, consistent pressure instead.
Mistake: Forgetting to soak the whetstone. A dry stone can cause uneven sharpening. Fix: Always soak for the recommended time!
Mistake: Not maintaining the correct angle. This leads to uneven edges. Fix: Use a guide or a protractor to keep the 20-degree angle.
Mistake: Skipping the fine stone. This can leave your knife rough. Fix: Always finish with the fine side for a smooth edge.
Mistake: Avoiding tests for sharpness. It can lead to unsafe cutting. Fix: Always test your knife after sharpening!
Extra Tips
- Store your knives properly in a block or on a magnetic strip to prevent dulling.
- Consider using different angles for different knife types—chef’s knives typically need a 20-degree angle, while paring knives can go lower.
- If you’re short on time, using a pull-through sharpener can be a quicker option, but it may not give you the same precision.
Pro Tips
Pro Tip: For a quick fix, a ceramic mug can be used as a honing tool! Just flip it upside down and run the blade along the unglazed rim.
Pro Tip: Always sharpen your knives regularly; a little maintenance goes a long way in keeping them sharp.
Pro Tip: If you’re serious about sharpening, invest in a high-quality whetstone—it makes a world of difference!