Mastering Whole Wheat Sourdough: Tips and Tricks
Unlock the secrets to perfect whole wheat sourdough with these helpful tips!
Hook Intro
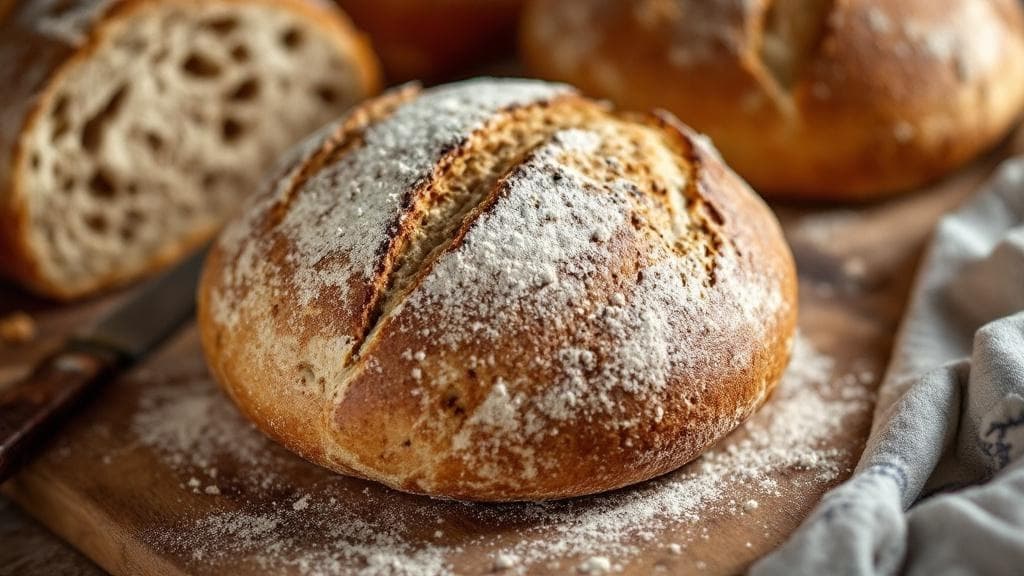
Have you ever tried making whole wheat sourdough only to end up with a dense loaf that could double as a doorstop? You’re not alone! Many bakers struggle with the unique challenges that whole wheat flour presents. Fear not, because I’m here to share some tips and tricks that will help you achieve that perfect, airy loaf you’ve been dreaming of!Quick Answer
TL;DR: To master whole wheat sourdough, ensure proper hydration, use a robust starter, and allow for longer fermentation times.
Why This Matters
Baking with whole wheat flour is a fantastic choice for health-conscious individuals, as it’s packed with nutrients and fiber. However, it can be trickier to work with than all-purpose flour. Whole wheat flour absorbs more water and can lead to denser loaves if not handled correctly. By following these tips, you can elevate your baking game, giving you a delicious, hearty loaf that not only nourishes your body but also delights your taste buds. Think about the satisfaction of pulling a golden, crusty loaf from your oven, the aroma wafting through your kitchen—pure bliss!Step-by-Step Guide
Gather Your Ingredients
Make sure you have high-quality whole wheat flour, water, salt, and a healthy sourdough starter. Measure out 500g of flour, 350g of water, and 10g of salt.Mix the Dough
In a large bowl, combine the flour and water until there are no dry bits left. Cover and let it rest for 30 minutes. This process, called autolyse, helps to hydrate the flour and develop gluten.Add the Starter
After the autolyse, add your active sourdough starter to the dough. Mix it in well, making sure there are no lumps. You should feel the dough becoming more elastic.Add Salt
Sprinkle the salt over the dough and mix it in using the pinch-and-fold method for about 5 minutes. This helps to integrate the salt without tearing the dough.Bulk Fermentation
Cover the bowl with a damp cloth and let it rise at room temperature for 4-6 hours. During this time, perform stretch and folds every 30 minutes for the first 2 hours. This will help strengthen the dough.Pre-shape the Dough
Once the dough has doubled in size and shows bubbles on the surface, turn it out onto a lightly floured surface and shape it into a round. Let it rest for 20 minutes.Final Shape
Shape it into your desired form (round or oval) and place it in a well-floured proofing basket.Final Proof
Cover it with a cloth and let it proof for 2-4 hours at room temperature, or overnight in the fridge for added flavor. This slow fermentation develops the sourdough taste.Preheat the Oven
Preheat your oven to 450°F (230°C) at least 30 minutes before baking. If you’re using a Dutch oven, place it inside to heat up.Bake
Carefully transfer the dough to the hot Dutch oven, cover it, and bake for 30 minutes. Remove the lid and bake for another 15-20 minutes until golden brown. Listen for that satisfying crackle as the crust forms!
Quick Reference Guide
| Item | Time/Amount | Signs of Success |
|---|---|---|
| Autolyse | 30 minutes | Flour is well-hydrated |
| Bulk Fermentation | 4-6 hours | Doubling in size, bubbly surface |
| Final Proof | 2-4 hours or overnight | Increased volume, puffy appearance |
| Baking | 45-50 minutes | Golden crust, crackling sound |
Common Mistakes to Avoid
Mistake: Not using enough water.
Why it's wrong: Whole wheat flour absorbs more water. Fix: Increase hydration levels by adding more water during mixing.
Mistake: Skipping the stretch and folds.
Why it's wrong: This helps develop gluten and strength in the dough. Fix: Commit to doing them during bulk fermentation!
Mistake: Using an inactive starter.
Why it's wrong: An inactive starter will not rise your dough. Fix: Always feed your starter 4-6 hours before using it.
Mistake: Not allowing for enough fermentation time.
Why it's wrong: Rushed fermentation can lead to dense bread. Fix: Be patient and allow your dough to ferment properly.
Extra Tips
- Store your sourdough bread in a paper bag to keep the crust crispy.
- Experiment with different whole grain flours for unique flavors!
- Use a kitchen scale for precise measurements—it makes a world of difference.
Pro Tips
Pro Tip: For a more complex flavor, try adding a bit of rye flour to your whole wheat mix.
Pro Tip: If your dough seems too sticky, wet your hands rather than adding more flour.
Pro Tip: Use a sharper blade for scoring to create a beautiful ear on your loaf.