Preserving Summer Produce: Your Ultimate Guide
Learn how to preserve summer produce with our step-by-step guide, ensuring you enjoy fresh flavors all year round!
Hook Intro
Have you ever found yourself with an overflowing basket of fresh summer produce, wondering how to enjoy those vibrant flavors long after the season has passed? Preserving summer produce is not just a clever way to save money; it’s a delightful journey into keeping those sun-kissed tastes alive! Imagine pulling a jar of homemade tomato sauce from your pantry in the middle of winter, the aroma instantly transporting you back to sunny days.Quick Answer
TL;DR: Preserving summer produce involves canning, freezing, and drying techniques to enjoy seasonal flavors year-round. Start with fresh, ripe ingredients for the best results!
Why This Matters
Preserving summer produce allows you to savor the peak flavors of your favorite fruits and vegetables long after the harvest. It reduces food waste, saves you money, and gives you control over what goes into your food—no preservatives or unknown additives. For instance, homemade pickles are not only crunchier but also packed with customizable flavors, making them a far superior option compared to store-bought varieties. Plus, there’s something incredibly satisfying about seeing your pantry stocked with jars of colorful goodness!Step-by-Step Guide
Choose Your Produce
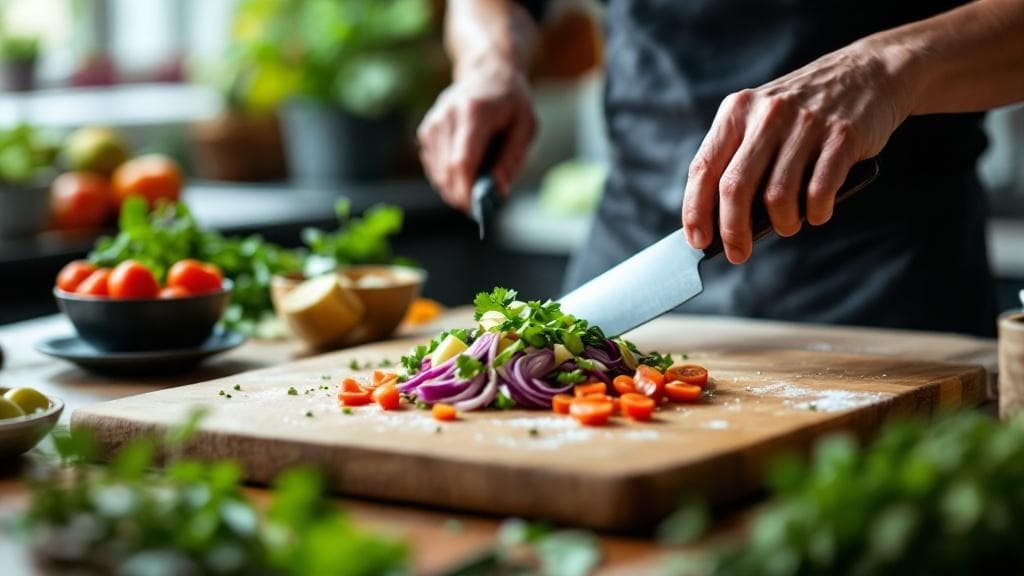
Start by selecting the freshest produce you can find. Look for vibrant colors and firm textures. Think tomatoes, cucumbers, peaches, and peppers—they’re all perfect for preserving. Aim to do this early in the morning when the produce is at its peak freshness.Wash and Prepare
Rinse your fruits and veggies under cold water. Remove stems, cores, and any blemishes. If you’re canning, chop them into uniform pieces for even cooking. For example, diced tomatoes should be about the size of a quarter.Choose Your Preservation Method
Decide whether you want to can, freeze, or dry your produce. Each method has its perks. Canning keeps flavors locked in, freezing retains the freshness, and drying intensifies flavors. Make sure to have the proper supplies ready, like jars for canning, freezer bags for freezing, or a dehydrator for drying.Canning Basics
If you’re canning, fill your sterilized jars with your prepared produce, leaving about half an inch of headspace. Pour in hot liquid (like brine for pickles or syrup for fruits), wipe the rims, and seal. Process in a boiling water bath for the required time. This usually ranges from 10 to 30 minutes depending on what you’re preserving.Freezing Fruit and Veggies
For freezing, blanch veggies in boiling water for a couple of minutes (this helps preserve color and nutrients). Cool them in an ice bath, drain, and pack them into freezer bags. Make sure to remove as much air as possible to avoid freezer burn. Fruits can often be frozen directly, but cutting them into smaller pieces can help with storage.Drying Techniques
If you’re drying, slice your produce thinly and arrange them in a single layer on your dehydrator trays or baking sheets. Dry at a low temperature (around 135°F or 57°C) until completely dry and crisp. This can take several hours, so be patient! The finished product should snap easily when bent.Labeling and Storing
Once your produce is preserved, don’t forget to label your jars or bags with the contents and date. Store them in a cool, dark place for canned goods, or in the freezer for frozen items. Make sure to use the oldest items first!Enjoying Your Preserved Treats!
Now comes the best part—enjoying those preserved flavors! Use your canned tomatoes in sauces, toss frozen veggies into stir-fries, or add dried fruits to oatmeal. The possibilities are endless!
Quick Reference Guide
| Item | Time/Amount | Signs of Success |
|---|---|---|
| Tomatoes (Canned) | 20-30 mins | Sealed lids, vibrant color |
| Cucumbers (Pickled) | 2-3 weeks in fridge | Crunchy texture, tangy flavor |
| Peaches (Frozen) | 1-2 hours prep | Bright color, no ice crystals |
| Bell Peppers (Dried) | 6-8 hours | Crisp and brittle |
Common Mistakes to Avoid
Mistake: Not using fresh produce. Using overripe or damaged produce can lead to spoilage. Always choose the freshest ingredients for the best flavor and longevity.
Mistake: Skipping the sterilization step. Not sterilizing jars before canning can result in bacteria growth. Always sterilize your jars to ensure safety.
Mistake: Overpacking jars. Filling jars too tightly can prevent proper sealing. Leave adequate headspace to allow for expansion.
Mistake: Ignoring the processing time. Not following recommended processing times can lead to spoilage. Stick to guidelines for safety.
Extra Tips
- Consider using a vacuum sealer for freezing to extend shelf life.
- Experiment with herbs and spices when pickling for unique flavors.
- Use leftover vegetable scraps to make broth before preserving.
Pro Tips
Pro Tip: To make peeling tomatoes easier, blanch them in boiling water for 30 seconds, then plunge them into ice water.
Pro Tip: When freezing fruits, add a little lemon juice to prevent browning.
Pro Tip: Use a food processor to chop large batches of produce quickly before canning or freezing.