Understanding Sourdough Hydration Levels
Unlock the secrets of sourdough hydration levels for perfect bread every time!
Hook Intro
Have you ever wondered why some sourdough loaves rise beautifully while others fall flat? The secret often lies in sourdough hydration levels! Understanding how the amount of water in your dough affects texture and crumb can elevate your baking game. Let’s dive into the world of hydration and discover how to achieve that perfect loaf you’ve been dreaming of!Quick Answer
TL;DR: Sourdough hydration levels refer to the ratio of water to flour in your dough. Higher hydration leads to a more open crumb and chewy texture, while lower hydration yields a denser loaf.
Why This Matters
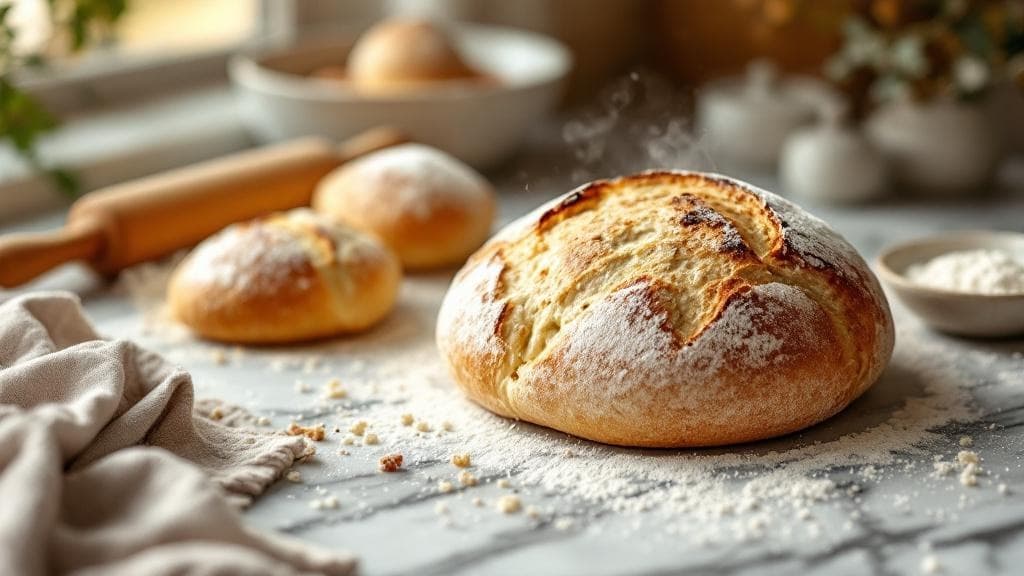
Understanding sourdough hydration levels is crucial for any baker who wants to master the art of bread-making. A well-hydrated dough can create a beautiful, airy crumb that makes your bread light and delightful. For instance, a dough with 60% hydration will yield a denser loaf, great for sandwiches, while 75% hydration can produce a crusty, artisanal bread that's perfect for tearing apart at the dinner table. By knowing how hydration affects your bread, you can tailor your baking to suit your tastes and preferences.Step-by-Step Guide
Gather Your Ingredients
Start with your basic ingredients: flour, water, and salt. Choose high-quality bread flour for better gluten development. Measure your flour first, then weigh out your water according to your desired hydration level.Calculate Your Hydration Level
To calculate hydration, use this formula: (Water Weight / Flour Weight) x 100. For example, if you use 500g of flour and 375g of water, your hydration level is 75%. This is considered a high hydration dough.Mix Your Dough
Combine your flour and water in a large mixing bowl. Use your hands or a spatula to mix until all the flour is hydrated. It should feel sticky and wet. Allow it to rest for 30 minutes to an hour (this is called autolyse) to develop gluten structure.Add Salt
After autolyse, sprinkle salt over your dough. Wet your hands to prevent sticking, then fold the dough over itself to incorporate the salt. This should take about 2-3 minutes. The dough will start to feel more elastic as you knead it.Bulk Fermentation
Let your dough rise at room temperature for 4-6 hours, depending on the temperature in your kitchen. Perform stretch and folds every 30 minutes for the first two hours to develop strength.Pre-shape Your Loaf
Once the dough has increased in volume and feels airy, turn it out onto a lightly floured surface. Gently pre-shape it into a round or oval, depending on your preferred loaf shape. Let it rest for 20-30 minutes.Final Shaping
Shape your dough into its final form, whether it’s a batard or boule. Place it seam-side up in a well-floured proofing basket. Cover it with a damp cloth and let it rise for another 1-2 hours, or until it has nearly doubled in size.Preheat Your Oven
Preheat your oven to 450°F (232°C) about 30 minutes before baking. If you’re using a Dutch oven, place it inside to heat up as well.Bake Your Bread
Carefully transfer your dough into the hot Dutch oven or onto a baking stone. Score the top to allow steam to escape, then cover (if using a Dutch oven) and bake for 30 minutes. Remove the lid and bake for an additional 15-20 minutes until golden brown.Cool and Enjoy
Once baked, transfer your loaf to a wire rack and let it cool for at least an hour. This allows the crumb to set and enhances the flavor. Now, slice it open and enjoy that chewy, airy goodness!
Quick Reference Guide
| Item | Time/Amount | Signs of Success |
|---|---|---|
| Flour | 500g | Good gluten structure |
| Water (75% hydration) | 375g | Sticky, elastic dough |
| Salt | 10g | Flavorful crust |
| Bulk Fermentation | 4-6 hours | Dough has doubled in size |
| Final Bake | 45-50 minutes | Golden crust, hollow sound when tapped |
Common Mistakes to Avoid
Mistake: Using too much or too little water. This can lead to a dough that's too sticky or too dry. Fix: Measure accurately! Use a kitchen scale for precision.
Mistake: Skipping the autolyse phase. This step is crucial for gluten development. Fix: Always allow your flour and water to rest before adding salt.
Mistake: Not allowing enough time for bulk fermentation. Rushing this step can result in dense bread. Fix: Be patient! Let your dough rise until it has doubled in size.
Mistake: Baking at the wrong temperature. Too high can burn your crust; too low can lead to underbaking. Fix: Always preheat your oven properly!
Mistake: Not scoring the dough before baking. This can lead to an uneven rise. Fix: Use a sharp blade to make shallow cuts in the dough's surface.
Extra Tips
- Experiment with different hydration levels to find your favorite texture.
- Store your sourdough bread in a paper bag to keep the crust crisp.
- Use leftover bread to make breadcrumbs or croutons—nothing goes to waste!
Pro Tips
Pro Tip: If you're new to higher hydration doughs, try using a bench scraper to manage the stickiness while shaping.
Pro Tip: For a more complex flavor, consider adding a bit of whole grain flour to your dough.
Pro Tip: Keep a dough journal! Record your hydration levels, temperatures, and results to refine your technique.