Why Score Bread? The Science Behind It
Discover why scoring bread is essential for perfect loaves and how it enhances flavor and texture.
Hook Intro
Have you ever wondered why bakers score bread before baking? It’s not just for looks! Scoring, or making shallow cuts on the surface of your dough, plays a crucial role in the baking process. In fact, understanding the science behind scoring can elevate your bread from good to absolutely stunning. Let’s dive into the reasons why scoring is essential for your sourdough bread experience!Quick Answer
TL;DR: Scoring bread allows for controlled expansion during baking, enhances texture, and improves aesthetics. It’s essential for achieving the perfect crust and crumb.
Why This Matters
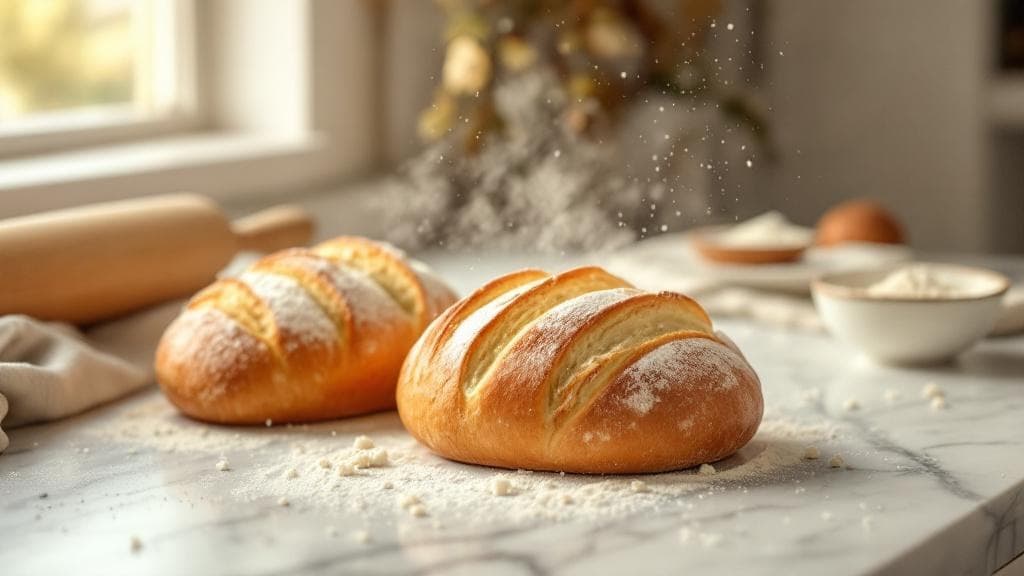
Scoring your bread is more than just a decorative touch; it’s a vital step that affects the overall outcome of your loaf. When bread bakes, it releases steam, and if there’s no way for that steam to escape, you’ll end up with a dense, gummy loaf. Scoring creates pathways for steam to escape, allowing your bread to rise beautifully and develop a delightful crust. Plus, scoring can create unique patterns, making your sourdough a feast for the eyes as well as the palate. Think of it as your loaf's way of saying, "Look at me!"Step-by-Step Guide
Prepare Your Dough
Before scoring, make sure your dough has reached the proper proofing stage. It should be puffy and have a slightly domed shape, indicating it’s ready to bake.Choose Your Tool
Use a sharp blade, like a razor or a lame (a special bread scoring tool). It should be clean and sharp to ensure a clean cut.Dust with Flour
Lightly dust the surface of your dough with flour. This not only prevents sticking but helps your cuts stand out after baking.Decide on Your Design
You can make straight lines, curved patterns, or even intricate designs. Common choices are a cross or a series of slashes. Choose what feels right for your loaf!Score with Confidence
Angle your blade at about 30 degrees and make swift, deliberate cuts. Don’t hesitate; a quick motion ensures a better rise.Watch the Depth
Aim for cuts about 1/4 inch deep. Too shallow won’t allow for proper expansion, while too deep could deflate your loaf.Transfer to the Oven
Once scored, carefully place your loaf in the preheated oven. The heat will activate the yeast and allow your beautiful scores to bloom.Observe the Baking
Keep an eye on your bread as it bakes. You’ll notice it expanding, with the scores opening up into beautiful petals, adding to the aesthetic appeal.Cool Before Slicing
Let your bread cool on a wire rack before slicing. This final step allows the crumb to set properly, enhancing both flavor and texture.
Quick Reference Guide
| Item | Time/Amount | Signs of Success |
|---|---|---|
| Dough Proofing | 1-2 hours | Puffy, slightly domed |
| Scoring Depth | 1/4 inch | Even cuts without deflation |
| Oven Temperature | 450°F (232°C) | Loaf expands and crust develops |
| Cooling Time | 30-60 minutes | Crumb sets, loaf sounds hollow when tapped |
Common Mistakes to Avoid
Mistake: Not scoring deep enough. It may cause your loaf to burst uncontrollably in unexpected places.
Mistake: Hesitating while scoring. Hesitation results in ragged cuts that don’t bloom well.
Mistake: Using a dull blade. A dull tool can crush your dough instead of cutting it cleanly.
Mistake: Over-scoring. Too many cuts can weaken the structure and lead to collapse.
Extra Tips
- Experiment with different patterns to make each loaf unique.
- For a more rustic look, try using a serrated knife.
- Dust with a little extra flour after scoring for a lovely contrast in color.
Pro Tips
Pro Tip: For an even more impressive look, consider scoring right before you place the loaf in the oven. The sudden heat can create more dramatic blooms!
Pro Tip: If you’re feeling adventurous, try adding herbs or spices to your dough for an aromatic surprise when you slice into your bread.
Pro Tip: Don’t be afraid to get creative! Use your scores to tell a little story or represent a theme.