Mastering Tart Techniques for Beginners in No Time
Learn essential tart techniques with this beginner-friendly guide to elevate your baking skills!
Hook Intro
Have you ever looked at a beautifully crafted tart and thought, "I wish I could make that!"? Well, you can! Tart techniques for beginners can seem daunting, but once you break it down, you’ll discover that it’s not only achievable but also incredibly rewarding. Imagine pulling a golden, flaky crust from the oven, filled with luscious fruits or rich custards. Let’s dive into the world of tarts together!Quick Answer
TL;DR: Tarts are easier than they look! Start with a simple dough, choose a filling, and bake. With practice, you can impress anyone with your tart-making skills!
Why This Matters
Understanding tart techniques is essential not just for mastering a dessert but also for building your baking confidence. Tarts are versatile; you can make them sweet or savory, and they’re perfect for any occasion. From a fresh fruit tart that showcases seasonal produce to a rich chocolate tart that satisfies your sweet tooth, the possibilities are endless. Plus, mastering the art of tarts can elevate your baking game—think of it as a stepping stone to more complex pastries!Step-by-Step Guide
Gather Your Ingredients
Start with the essentials: flour, butter, sugar, eggs, and your choice of filling (like fresh fruits or chocolate). Make sure your butter is cold for a flaky crust!Make the Tart Crust
In a bowl, combine 1 ½ cups of all-purpose flour, ½ cup of cold, cubed butter, and ¼ cup of powdered sugar. Use your fingers to rub the butter into the flour until it resembles coarse crumbs. This should take about 5-7 minutes.Add the Egg
Add a beaten egg to the mixture and stir until it forms a dough. If it’s too crumbly, add a teaspoon of cold water at a time until it holds together. Aim for a smooth texture.Chill the Dough
Wrap the dough in plastic wrap and refrigerate for at least 30 minutes. This helps to firm it up and makes it easier to roll out.Preheat the Oven
While the dough chills, preheat your oven to 375°F (190°C). This ensures your tart bakes evenly.Roll Out the Dough
Once chilled, roll the dough on a floured surface until it’s about ¼ inch thick. Use a rolling pin to help transfer it to your tart pan, gently pressing it into the edges.Trim the Edges
Use a knife to trim any excess dough hanging over the edges of the pan. This gives your tart a clean finish and helps it bake evenly.Blind Bake the Crust
To prevent sogginess, blind bake the crust. Line it with parchment paper, fill with pie weights (or dried beans), and bake for 15 minutes. Remove the weights and bake for an additional 10 minutes until golden brown.Add Your Filling
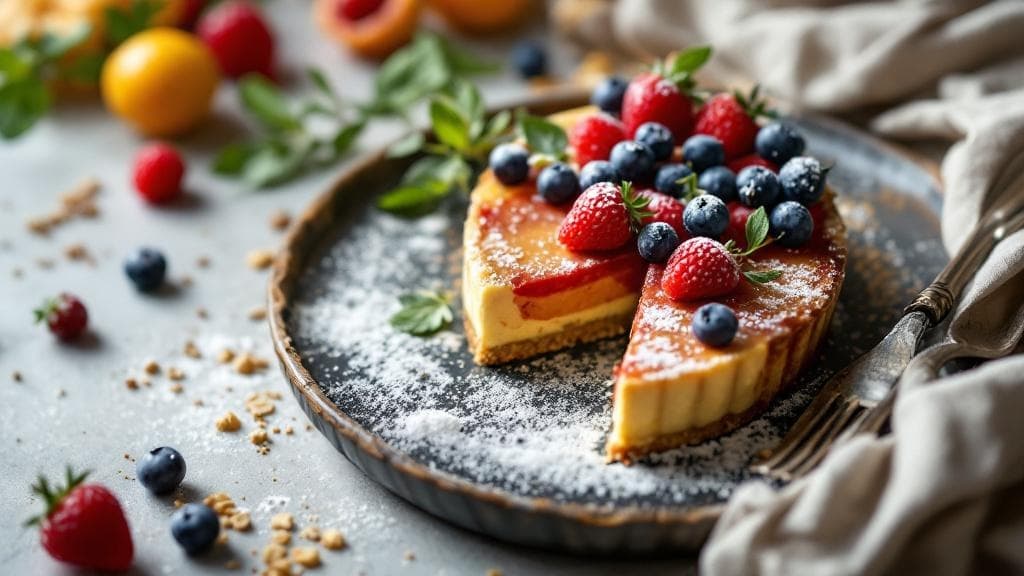
Let your crust cool before adding your filling. Whether it's a creamy custard, fresh fruit, or rich ganache, spread it evenly in the cooled crust. The colors should pop, making it visually appealing!Final Bake
If your filling requires baking, return the tart to the oven for the specified time. Keep an eye on it; you want that filling to set nicely without overcooking.
Quick Reference Guide
| Item | Time/Amount | Signs of Success |
|---|---|---|
| Tart crust | 30 minutes (chill) + 25 minutes (bake) | Golden brown and firm |
| Blind baking | 15 minutes (with weights) + 10 minutes (without) | Dry and lightly browned |
| Filling | Varies by recipe | Set in the center, no jiggle |
| Cooling time | At least 1 hour | Firm and easy to slice |
Common Mistakes to Avoid
Mistake: Not chilling the dough. This can lead to a tough crust.
Mistake: Skipping the blind baking step. This often results in a soggy tart.
Mistake: Overfilling the tart. This can cause overflow during baking.
Mistake: Using warm butter in the dough. It’s crucial for a flaky texture to use cold butter.
Mistake: Not trimming the edges. This can lead to uneven baking and a messy appearance.
Extra Tips
- Experiment with different fillings—seasonal fruits, chocolate, or custard are all great options!
- Store leftover tarts in the fridge, covered. They’re often even better the next day!
- If you’re short on time, use store-bought pastry dough. It’s a great shortcut for beginners.
Pro Tips
Pro Tip: For an extra crispy crust, brush it with egg wash before baking for a beautiful golden finish.
Pro Tip: Add a sprinkle of sea salt on top of sweet tarts to enhance the flavors!
Pro Tip: When using fresh fruits, layer them in a spiral for a stunning presentation.