The Ultimate Guide to Homemade Ice Cream
Learn how to make delicious homemade ice cream with our step-by-step guide and tips for the perfect texture and flavor.
Hook Intro
Do you ever find yourself dreaming of that rich, creamy scoop of homemade ice cream on a hot summer day? You know, the kind that’s bursting with flavor and has that perfect velvety texture? Making ice cream at home can be a game-changer, and once you try it, those store-bought tubs may never look the same again. Let’s dive into the ultimate guide to homemade ice cream, where you’ll discover the secrets to crafting your own frozen delight!Quick Answer
TL;DR: Making homemade ice cream is easy and fun! With just a few ingredients and a simple method, you can create flavors tailored to your taste, all with a creamy texture that rivals your favorite ice cream shop.
Why This Matters
There’s something truly special about homemade ice cream. For starters, you control the ingredients, which means you can avoid preservatives and artificial flavors. Plus, it’s a fun activity to do with family or friends, turning a hot day into a sweet memory. Imagine the joy of mixing in fresh fruits, decadent chocolate, or even your favorite cookies into a base that’s perfectly creamy and smooth. Homemade ice cream also allows you to experiment with flavors that you might not find in stores—lavender honey, anyone? It’s not just about the ice cream; it’s about the experience, the memories, and the taste of summer in every bite.Step-by-Step Guide
Gather Your Ingredients
Start with the basics: heavy cream, whole milk, sugar, and vanilla extract. For a basic vanilla ice cream, aim for 2 cups of heavy cream, 1 cup of whole milk, 3/4 cup of sugar, and 1 tablespoon of pure vanilla extract. Gather any mix-ins you desire, like chocolate chips, fruit, or nuts.Mix the Base
In a large bowl, whisk together the heavy cream, whole milk, sugar, and vanilla extract until the sugar is fully dissolved. This should take about 2-3 minutes. You’ll notice the mixture becoming slightly frothy and fragrant—this is a good sign!Chill the Mixture
Cover the bowl with plastic wrap and refrigerate the mixture for at least 2 hours, or overnight if you can wait! Chilling allows the flavors to meld together beautifully and improves the texture.Prepare Your Ice Cream Maker
If you’re using an ice cream maker, ensure that the bowl is frozen (if applicable) and ready to go. Follow the manufacturer’s instructions. Most machines need about 24 hours in the freezer to ensure it’s properly chilled.Churn the Ice Cream
Pour the chilled mixture into the ice cream maker and churn according to the manufacturer’s instructions. This usually takes about 20-30 minutes. You’ll notice it starting to thicken and resemble soft-serve ice cream.Add Mix-Ins
During the last 5 minutes of churning, add any mix-ins—like chocolate chunks, crushed cookies, or fresh strawberries. This is where the fun begins, and you can customize your ice cream to your heart’s content!Transfer to a Container
Once the ice cream reaches a soft-serve consistency, transfer it to an airtight container. Smooth the top with a spatula for an even surface. This step is crucial for achieving that perfect scoop later!Freeze to Firm Up
Place the container in the freezer for at least 4 hours, or until fully set. The longer you freeze it, the firmer it will be. Just be sure to pull it out about 5-10 minutes before serving to make scooping easier.Scoop and Enjoy!
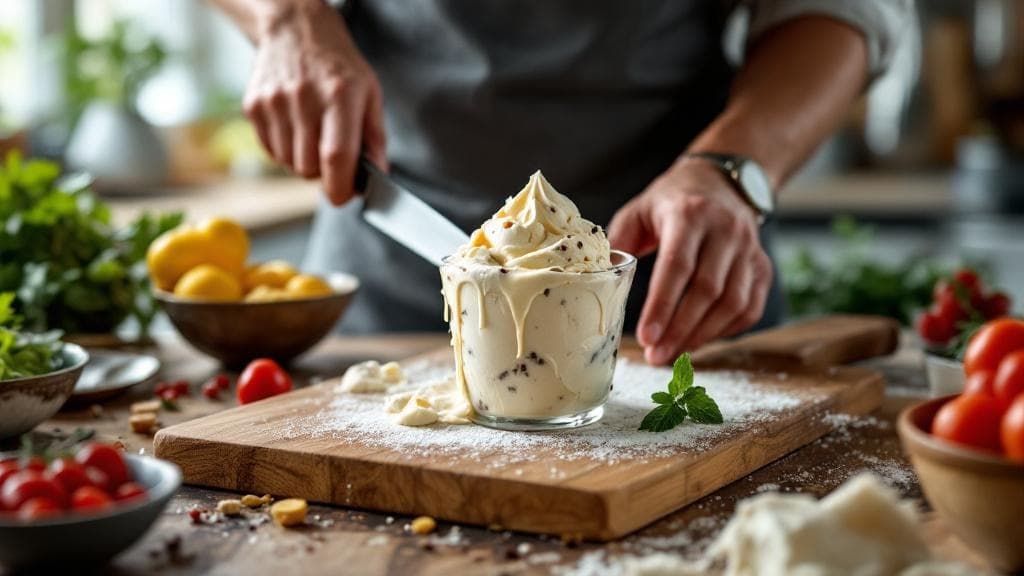
Now for the best part! Use a warmed scooper to serve up your homemade ice cream. Enjoy it in a cone, bowl, or straight from the container—no judgment here!
Quick Reference Guide
| Item | Time/Amount | Signs of Success |
|---|---|---|
| Heavy Cream | 2 cups | Rich and creamy base |
| Whole Milk | 1 cup | Smoothness in texture |
| Sugar | 3/4 cup | Sweetness balanced |
| Chilling Time | 2 hours (minimum) | Flavors melded |
| Churning Time | 20-30 minutes | Soft-serve consistency |
| Freezing Time | 4 hours (minimum) | Firm texture |
Common Mistakes to Avoid
Mistake: Skipping the chilling step. This can result in icy texture instead of creaminess. Fix: Always chill your mixture for at least 2 hours before churning.
Mistake: Over-churning the ice cream. This can lead to a grainy texture. Fix: Stop churning once it reaches soft-serve consistency.
Mistake: Using low-fat milk. This will make your ice cream less creamy and rich. Fix: Stick to heavy cream and whole milk for the best results.
Mistake: Not letting it soften before scooping. This results in hard-to-scoop ice cream. Fix: Let it sit at room temperature for 5-10 minutes before serving.
Extra Tips
- Store leftovers in an airtight container to prevent ice crystals.
- Experiment with flavors by infusing your milk with herbs or spices.
- Use a hot scoop to make serving easier—just dip it in warm water!
Pro Tips
Pro Tip: For an ultra-smooth texture, consider adding a tablespoon of vodka to your mixture; it helps prevent ice crystals from forming!
Pro Tip: If you're feeling adventurous, try mixing in a swirl of caramel or fudge right before you freeze it for a fun surprise!
Pro Tip: Make a batch of ice cream base and divide it into smaller portions to try different flavors without starting from scratch.